How do I get the right water treatment plant?
A question that came to the mind of many owners of restaurants and cafes. How do I get a suitable water treatment plant? Among the different ways, you can treat drinking water in restaurants and cafes. The reverse osmosis system offers one of the best solutions. In this system, a semipermeable membrane removes ions and larger particles from drinking water. Reverse osmosis offers many advantages over different types of filtration because it provides four or five different stages of filtration and removes most harmful contaminants even heavy metals such as lead. There are very few parts to the reverse osmosis system, which makes it easy to clean and maintain. It has been fully approved by the Environmental Protection Agency.
When compared to other point-of-use filtration systems, reverse osmosis tends to be more effective than simpler filtration systems, and much less expensive than UV disinfection systems, which are better at killing pathogens. When the water supply is appropriately chlorinated, a reverse osmosis system can be the best option. As it uses up to three gallons of water to produce one gallon filtered.
RO water treatment plant installation steps
While there are reverse osmosis systems that can be installed to treat all the water in general in a place, it is more usual to install an under-counter unit under the kitchen faucet where most of the water used for drinking and cooking is supplied. The unit includes four or five separate filter canisters, each filtering a different set of contaminants, as well as a storage tank containing purified water. The countertop tap, separate from the main tap, delivers fresh water when needed.
Although the physics of how reverse osmosis filtration works are complex, installation is fairly simple, requiring only basic plumbing skills.
Plan before installing a water treatment plant
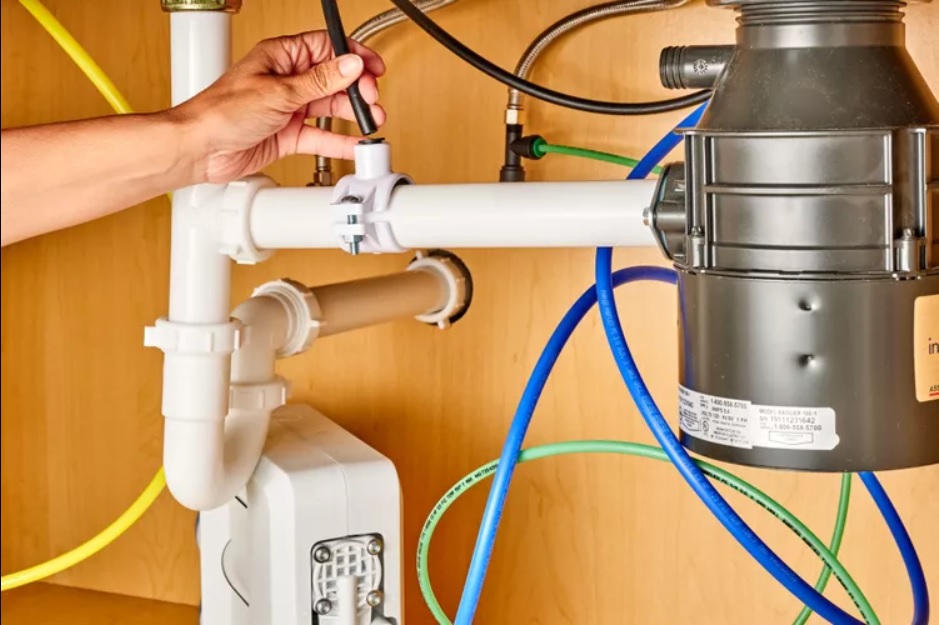
Before purchasing a reverse osmosis (RO) system, make sure there is enough space under the kitchen sink for the tank and filters. Take measurements of the available space. It can be difficult to fit a reverse osmosis unit with its tank and multiple filters.
Also, make sure you have an idea of what cold water source to use. Most units come with a tee connection that taps into the 1/2-inch cold water supply line going to the faucet. Other RO units use a 3/8-inch flexible line that comes down from the faucet. In this case, a diverter tee can be used above the shut-off valve to provide a water source for the treatment system.
Prepare the RO system
Remove the storage box and filter components and double-check to make sure they will fit in the space available. Test installation of all components can let you know if modifications are necessary to the drain pipes or water supply pipes. If so, this work may require the assistance of a technician.
Most reverse osmosis systems are often placed under the kitchen sink but can also be installed in a remote location such as a garage or utility room, and then run to the site of use. Remote installation takes up no space under the sink, but does take a little more work to install. You may also need to purchase additional tubes to connect the components.
Install the water treatment plant faucet
Install the filter sink faucet first so you can get the lines under the countertop before they get too crowded under the sink. Then install the RO faucet on top of your kitchen sink or countertop with the hardware provided. In the worst case scenario, you could drill a new hole in the sink or countertop faucet to install the unit faucet.
Feed the water line down through the hole and connect the air gap (red tube) to the faucet before locking the faucet down onto the housing.
Preparation and placement of the tank
Before placing the RO tank into position under the sink, install the tank connector. Make sure to avoid the pipes intersecting.
Now, put the tank in its place under the sink. Wherever possible, place it directly under the sink faucet.
Install the filter assembly
Remove the filter assembly cover and locate the hanger holes on the wall below the sink, using a level to make sure the unit is straight. This assembly must be at least 1/2 inch off the floor to allow sufficient room to remove the filters for maintenance.
Attach the hangers to the wall in the marked location, then set the set on the rings.
The filter assembly is positioned toward the back wall below the plumbing pipes
Attach the water line
The green water line 1/4 inch from the filter assembly should now be connected to the water supply line. Start by turning off the water supply.
How this first tube connection is made can vary depending on your situation. Most filters come with a 1/2-inch adapter, which works well if your tub faucet uses a 1/2-inch flexible line. If your tub faucet uses flexible tubing of a different size. You will need to use the diverter tee to go to the water supply tubing that runs to the filter unit. The green supply pipe is connected to the adapter hole and the green water line insertion is connected to the water supply line of the filter assembly.
Connect the other tube
Piping configurations vary depending on the manufacturer but typically consist of a tube running from the water supply to the first canister in the filter unit (pre-filter). Another tube from the last filter canister (RO canister) to the aquarium drain, and another tube to the storage tank. Finally, there is a tube that runs from the storage tank to the tap on the countertop. In some five-stage systems, the storage tank also passes through a “polish” filter on its way to the overhead sink tap.
However, piping configurations can vary greatly, so always consult the manufacturer’s instructions for proper piping connections.
When connecting the tubing, use the extra length of the tubing to your advantage. Run it to the back of the cabinets or wherever necessary to allow for a cleaner installation. If possible, leave an extra tube in case the system needs to be moved at a later time. If you prefer, the tube can also be cut to your desired length for a more clean and tidy look.
Perform a Pressure Test
Turn on the water supply and open the cold water in the sink to get any extra air out of the pipes. Pressure will begin to build up in the system. You will have to wait about 2 hours to get the full pressure. Once the system is pressurized, check all fittings.
Before using the water for drinking, drain the system by leaving the tap on. Allow it to completely empty and disinfect for 24 hours. The water will be slow after the tank empties. Leave it for a full 24 hours, and continue to test for leaks during this time.
When installing a water treatment plant, you must ensure that every step is done professionally and in the correct manner, with the help of Carewater experts. We work to provide all water solutions in all regions of the Kingdom of Saudi Arabia.